In this step-by-step tutorial, you’ll learn how to create Normal Maps, Ambient Occlusion Maps, and Roughness Maps starting from a seamless texture in Photoshop. These maps add depth, shadow, and material shine to your textures for more realistic 3D rendering.
Note: We will create the normal bump map outside of Photoshop using the free online tool Smart Normal. This platform provides an easy and efficient way to generate a normal map.
Step 1: Preparing Your Seamless Texture
- Open your seamless texture file in Photoshop.
- Ensure the texture is saved in 2048 x 2048 pixels for compatibility.
Step 2: Creating the Normal Map
- Export Your Texture to an External Tool:
- As the latest versions of Photoshop do not support creating Normal Maps, use free online tools like Smart Normal.
- Upload your seamless texture to the tool.
- Adjust the Settings:
- Modify the Bias value of the Normal Map as needed for your project.
- Preview the result and ensure it reflects the surface details correctly.
- Download the Normal Map:
- Save the file as a PNG for use in Expressa Configurator.
Step 3: Creating the Ambient Occlusion Map
- Open the Seamless base color:
- In Photoshop, open the base color image.
- Desaturate the Image:
- Click on the Adjustment Layer icon at the bottom of the Layers panel, select Hue/Saturation, and set the Saturation value to -100 to remove the color.
- Adjust Levels:
- Click on the Adjustment Layer icon at the bottom of the Layers panel, select Levels to enhance shadowed areas.
- Focus on creating a grayscale version that emphasizes crevices and recessed parts of the texture, following the example in the video below.
- Save the Map:
- Save the file as a PNG for use in Expressa Configurator.
Step 4: Creating the Roughness Map
- Open the Seamless base color:
- In Photoshop, open the base color image.
- Desaturate the Image:
- Click on the Adjustment Layer icon at the bottom of the Layers panel, select Hue/Saturation, and set the Saturation value to -100 to remove the color.
- Adjust Levels:
- Click on the Adjustment Layer icon at the bottom of the Layers panel, select Levels, and adjust the levels until you achieve a grayscale that clearly highlights the folds and details of the texture, following the example in the video below.
- Save the Map:
- Export the file as a PNG.
Final Steps: Testing and Applying the Maps
- Organize Your Maps:
- Ensure each map (Normal, Ambient Occlusion, Roughness) is clearly labeled and saved in the same folder.
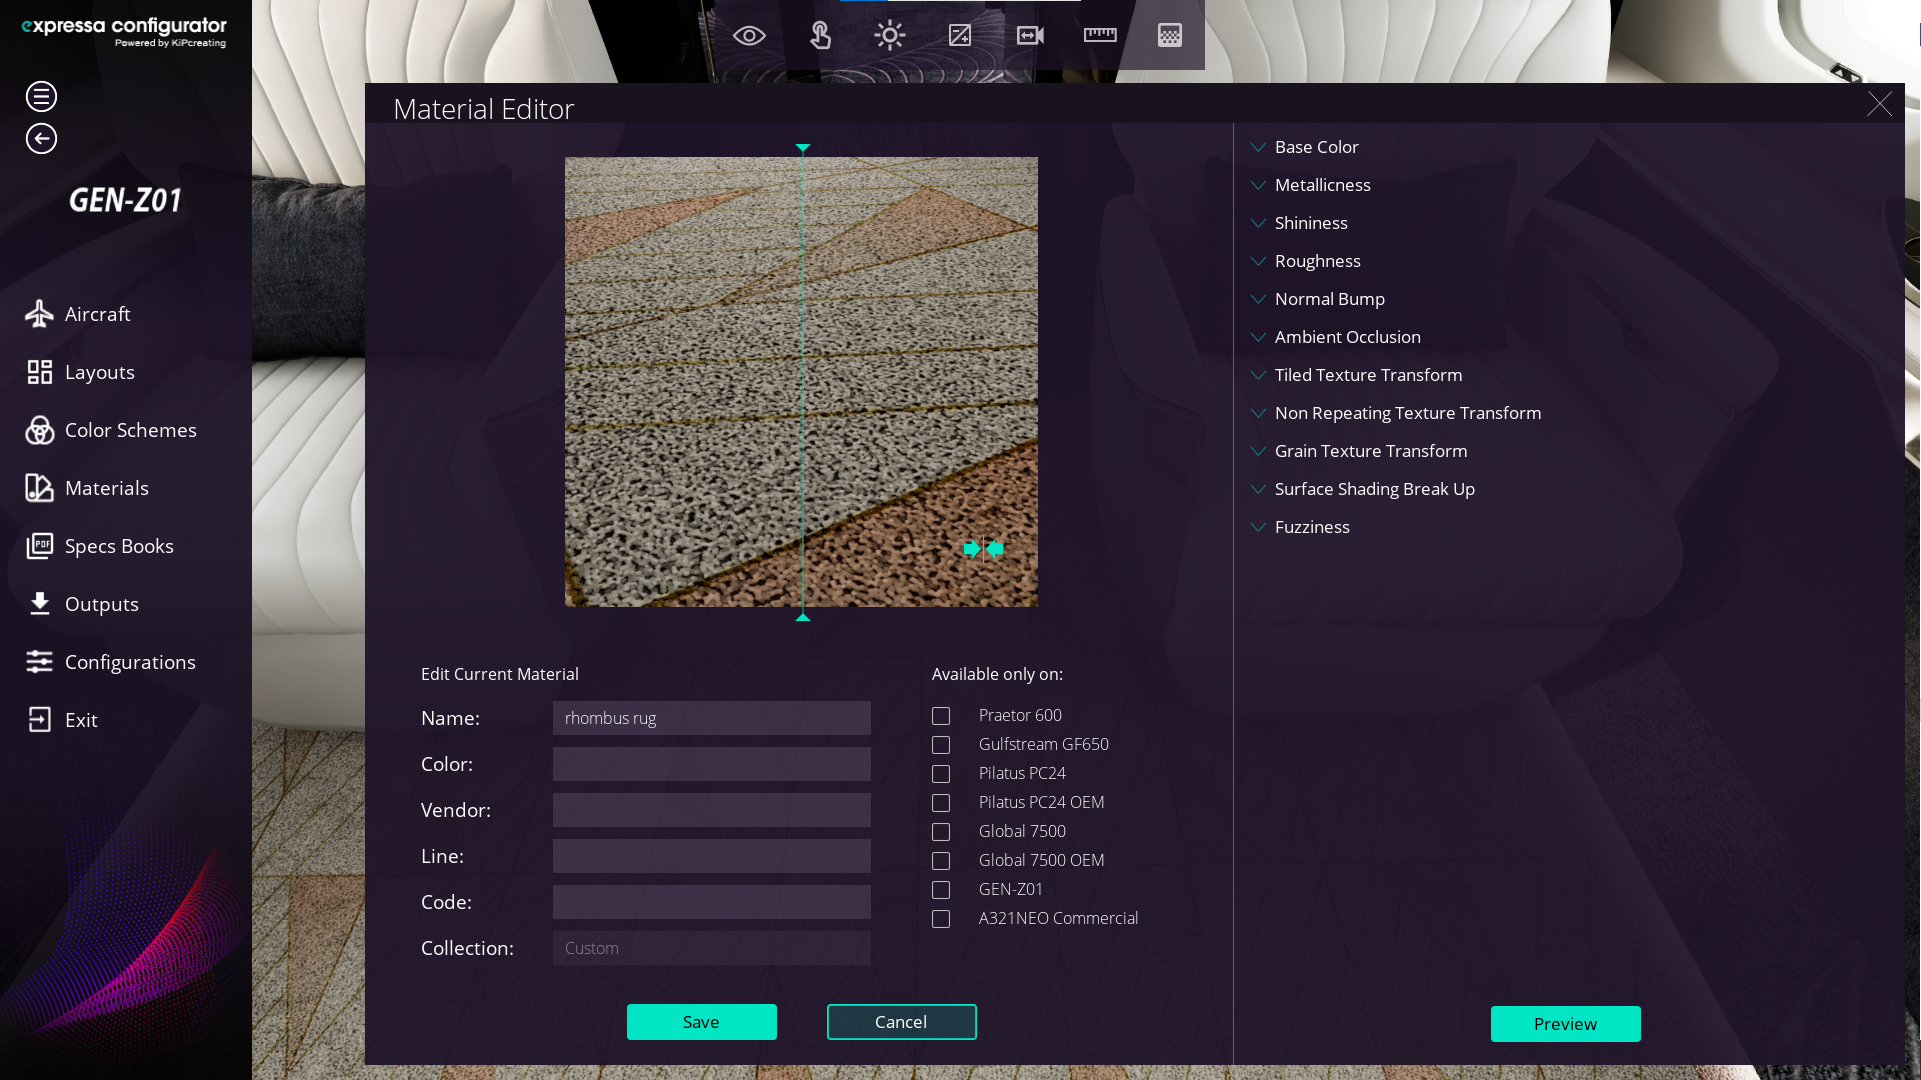
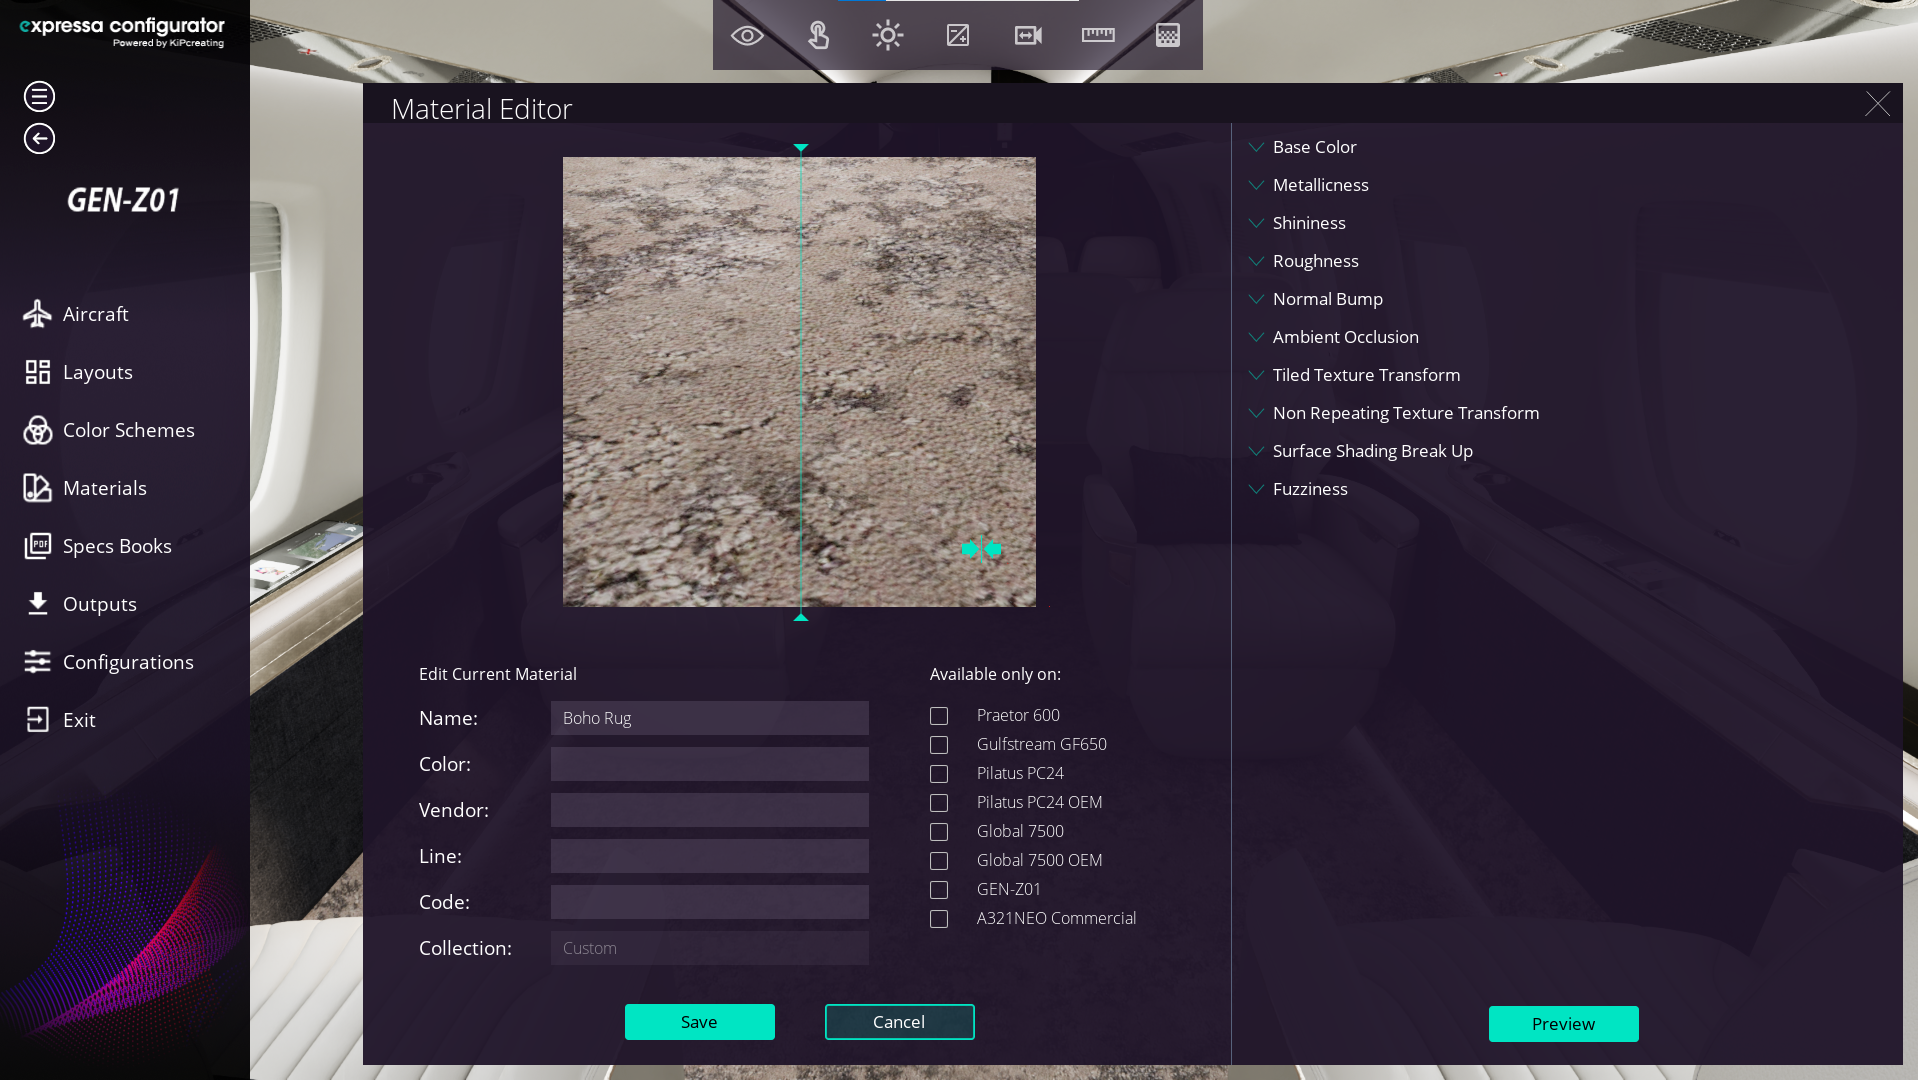
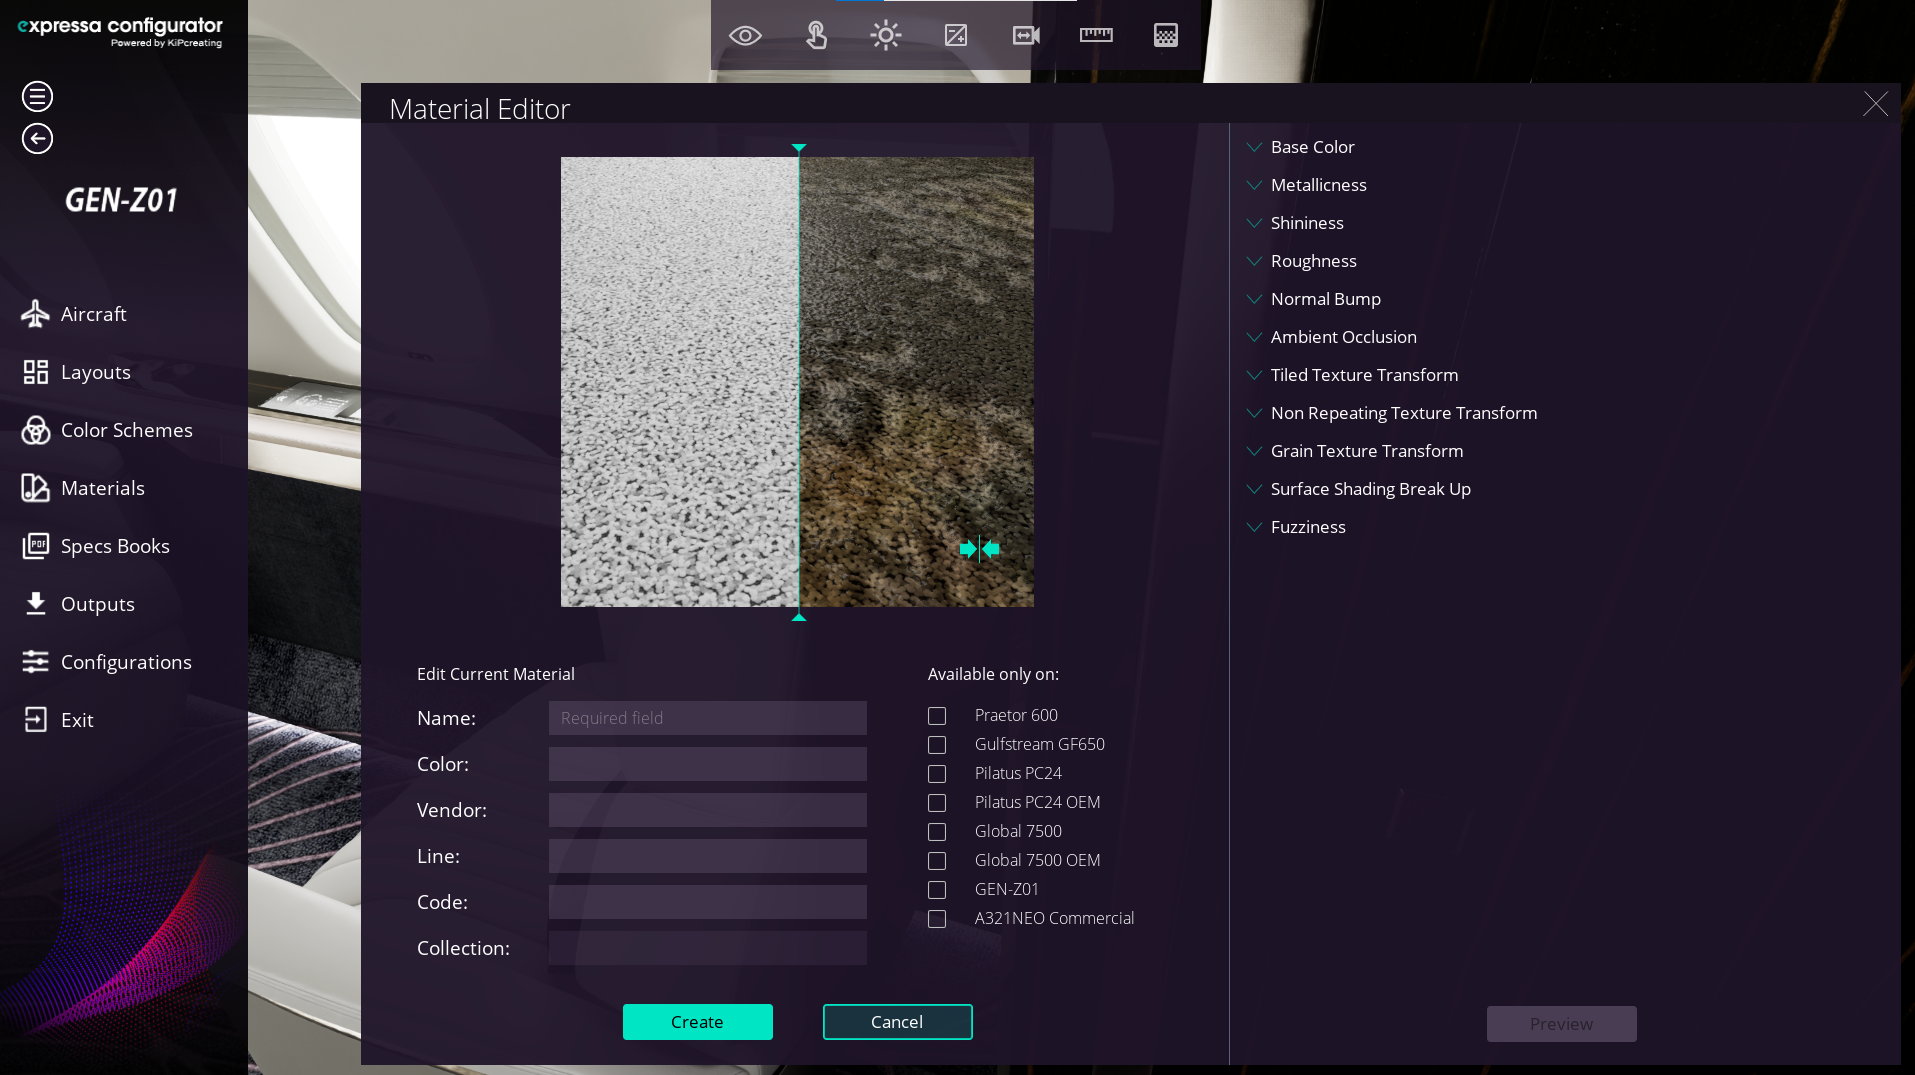
- Import into Expressa Configurator:
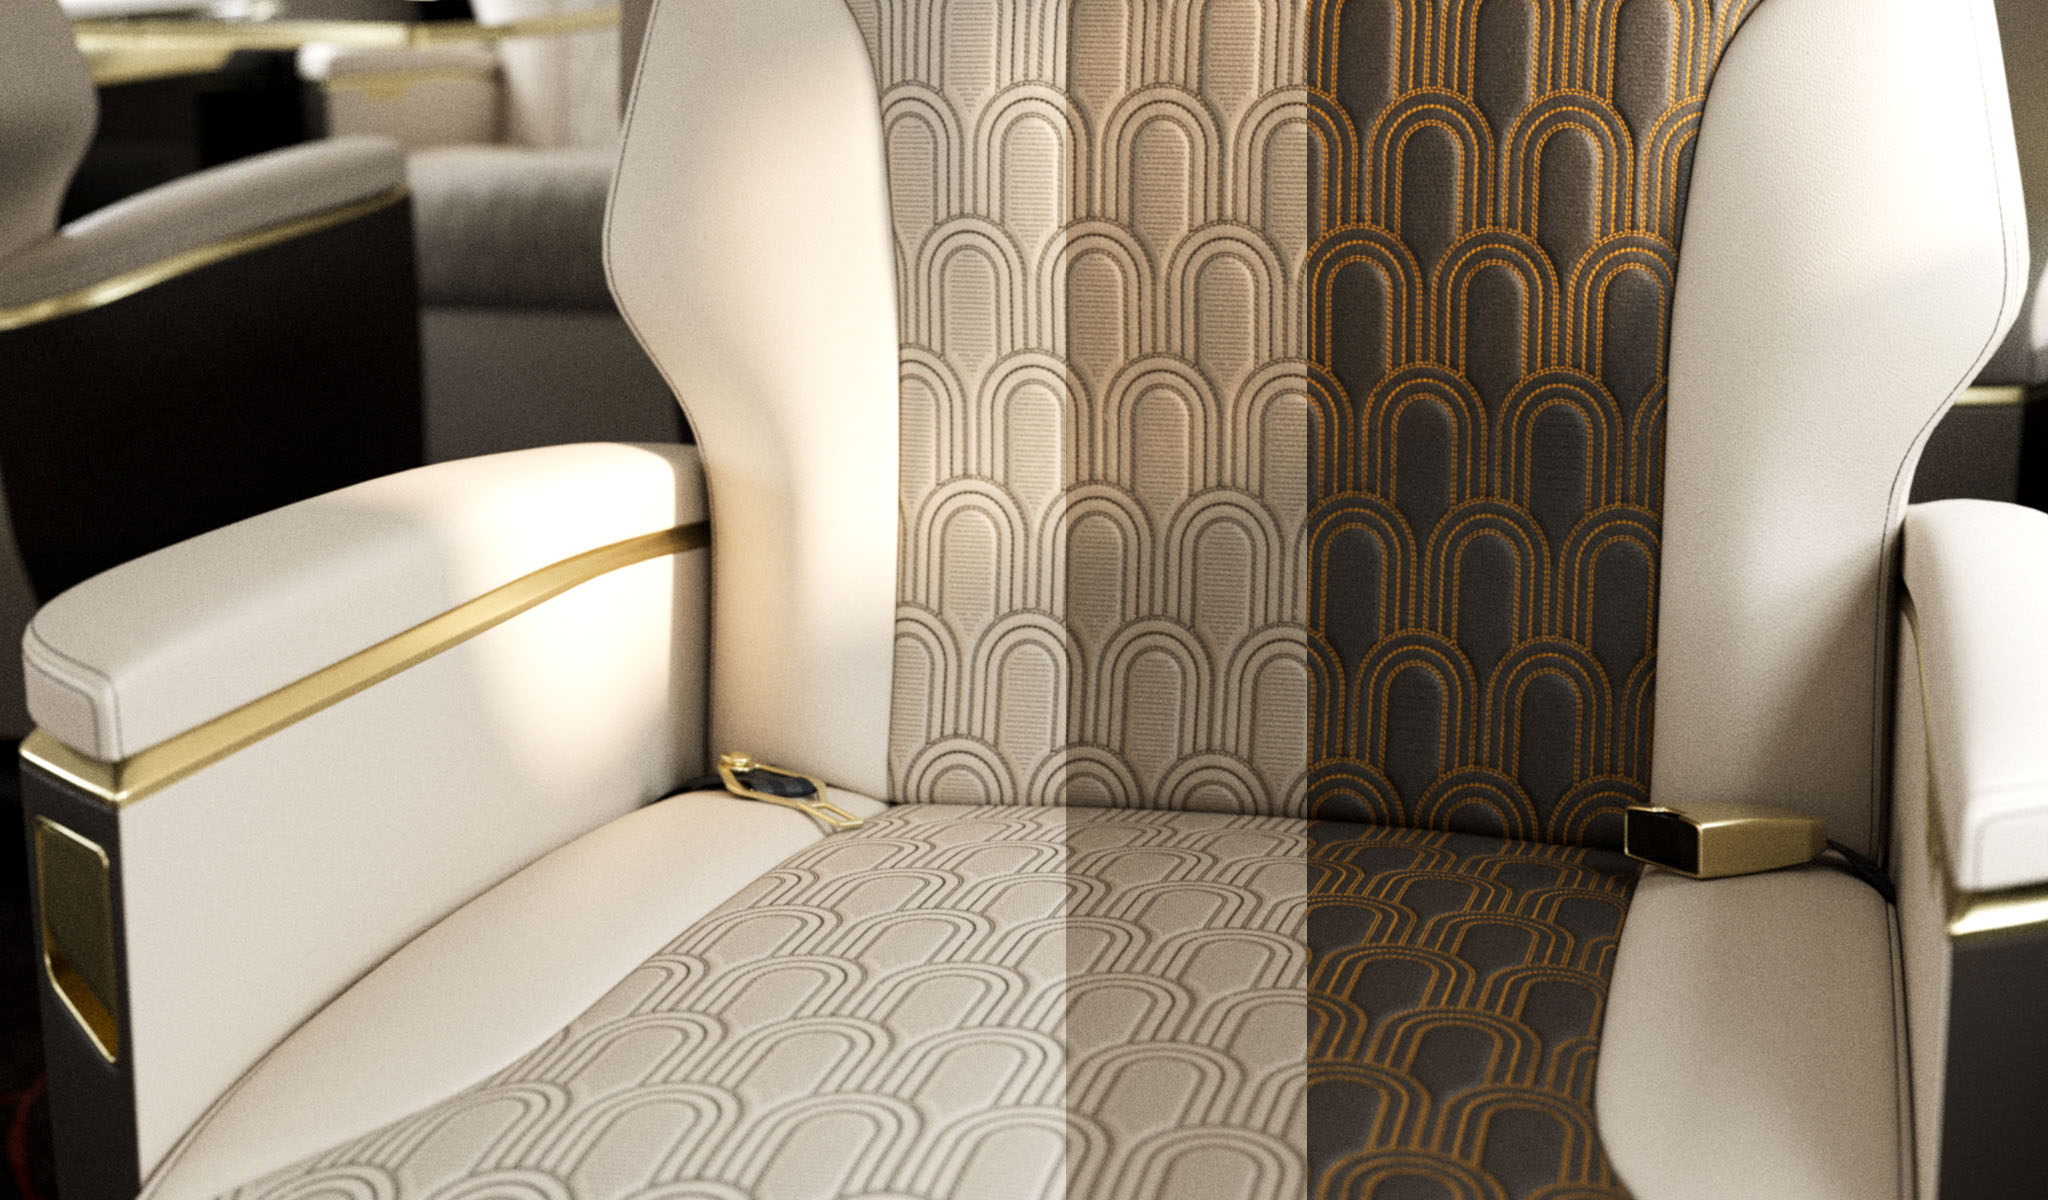
- Upload the maps into the configurator and test how they affect the appearance of your material.
By following these steps, you can create high-quality maps that bring your materials to life!
Was this post helpful?
Let us know if you liked the post. That´s the only way we can improve.