Available starting from Expressa Configurator 1.6
The Carpet Preset Masked template allows us to create carpets using masks shaped according to our design without needing to load texture maps by utilizing only the system presets.
We just need to generate our masks (this template supports up to 9) and upload them to Expressa.
In the following tutorial, we will work on a carpet design and explore how this template works and the possibilities it offers.
1. Explore Our Step-by-Step Video Guide
2 . First Step: Setting Up Carpet Preset Masked Template
2.1- Creating a new map
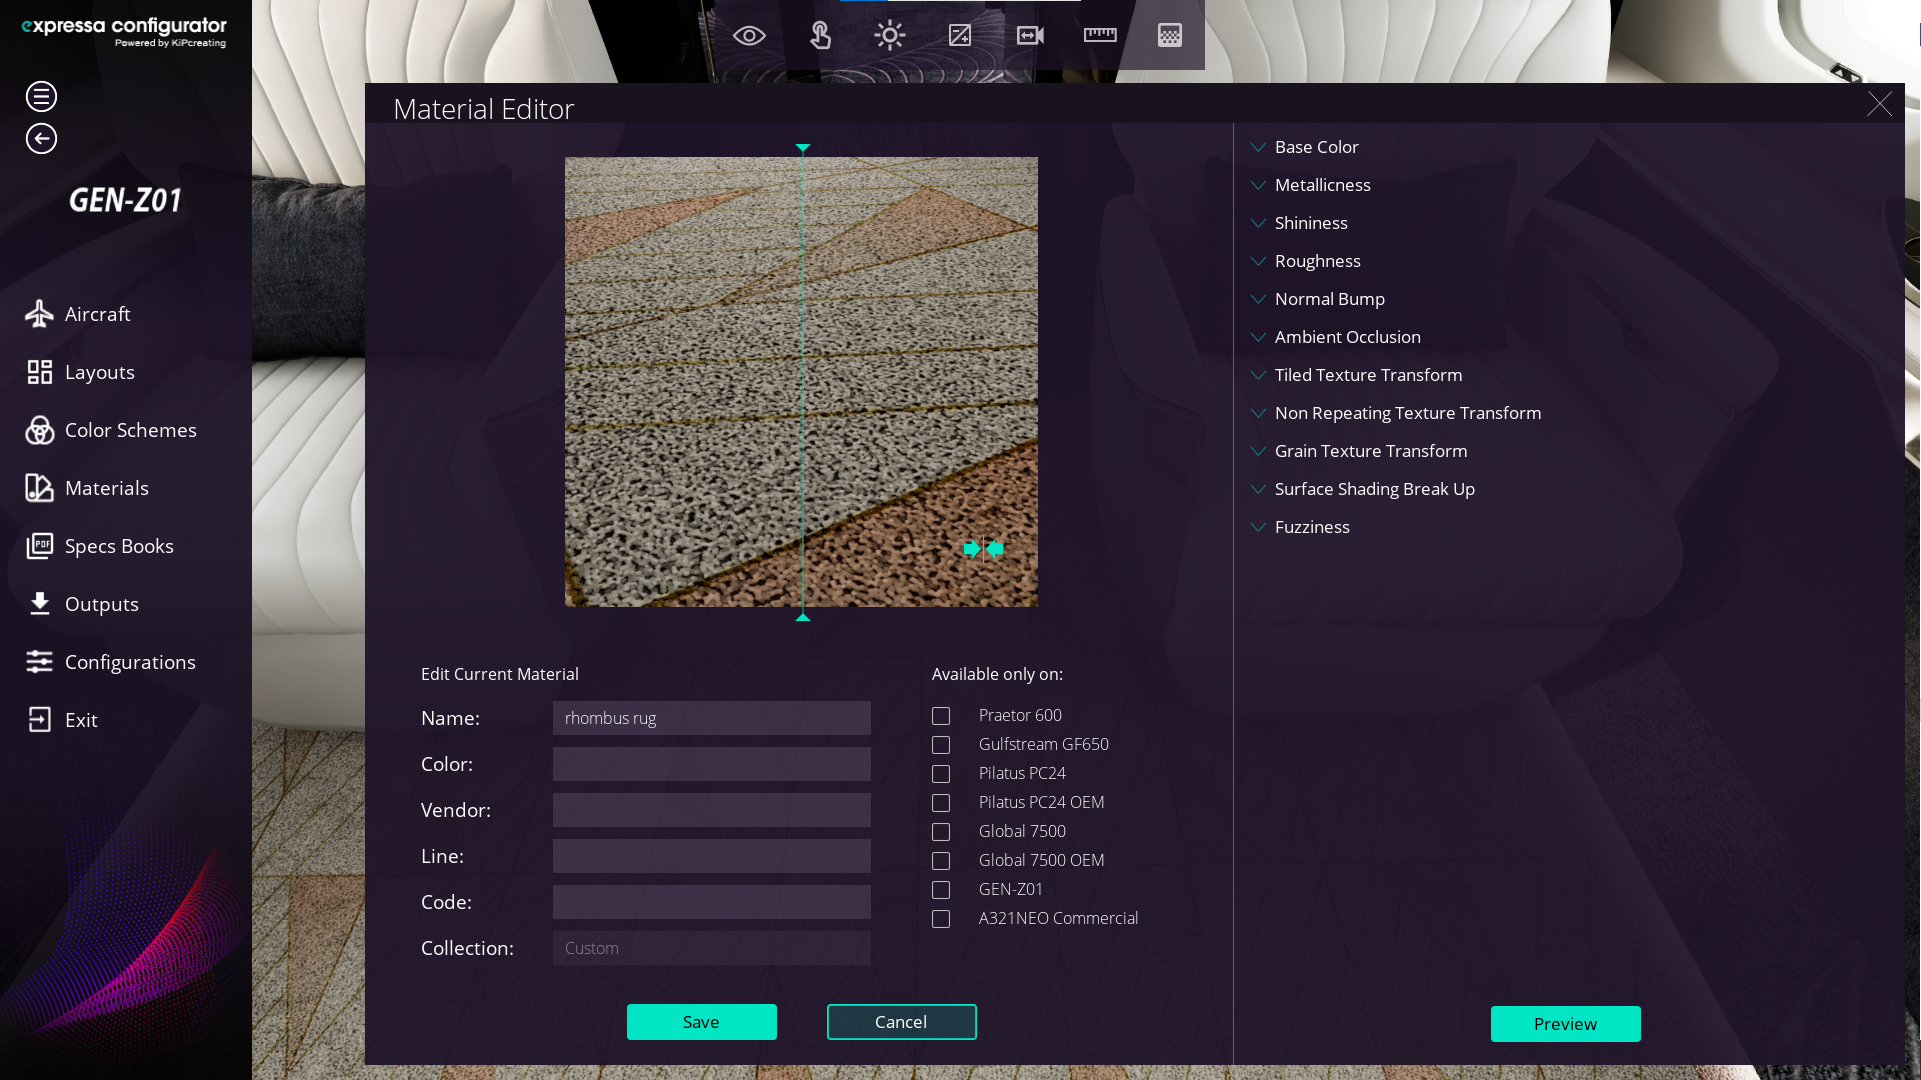
To create a new leather, go to Material on the left-hand menu.
Once the materials window opens, select Add New Material.
In the New Material window, choose the category Carpet, and under the template, select Carpet Preset Masked.
Click Next.

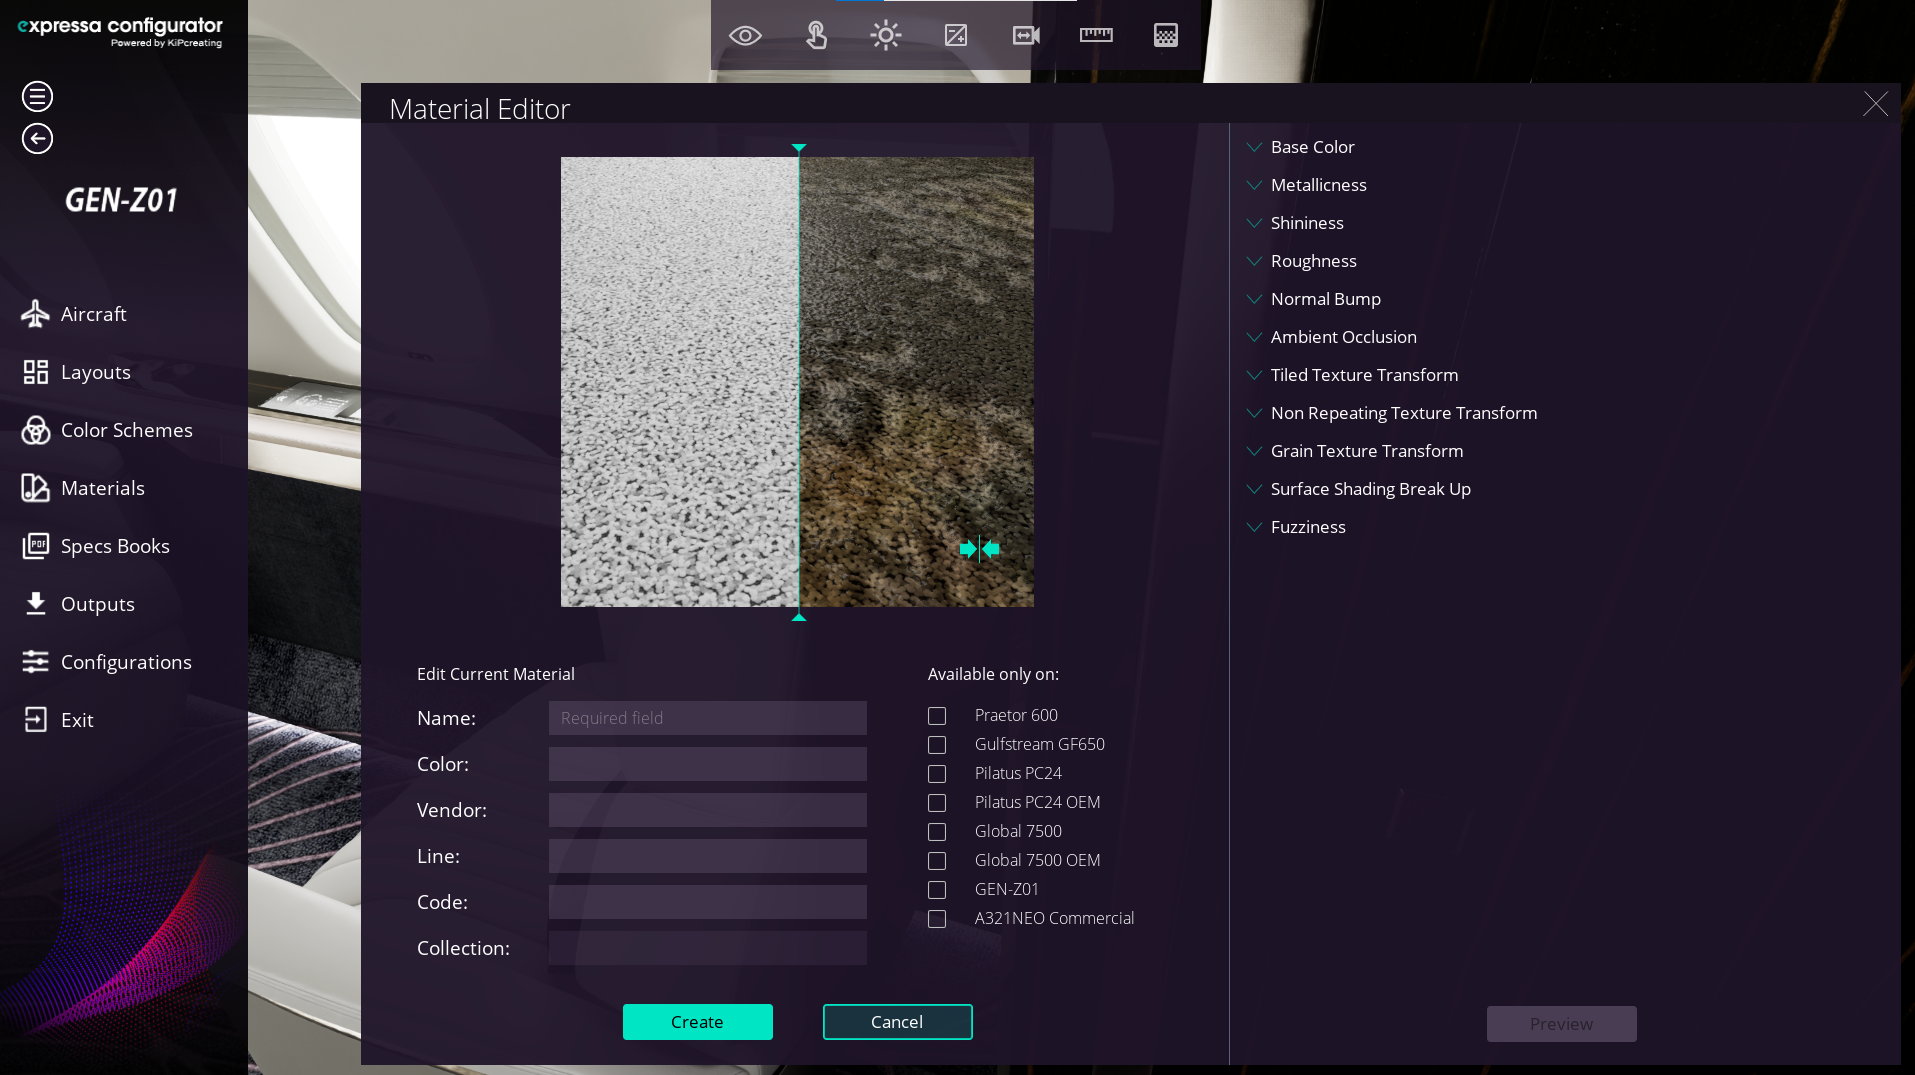
Once the Material Editor is open, you’ll see a set of parameters for editing your new carpet material. What sets this template apart is that it includes nine layers, each assigned to nine masks with their own independent parameters. This structure allows you to create a carpet with different configurable elements, giving you the flexibility to customize each layer according to your design needs. This versatility makes the template highly adaptable for creating complex and detailed carpet materials.
2.3- Leather base color parameters
In the Base Carpet segment, we’ll configure the foundation of our carpet.
First, select the “Cut or Loop Switcher” on the first slider. This allows you to choose the type of tufting for your carpet, whether cut or loop.
Next, use the Base Color Tint to select the base color of your carpet. This determines the overall tone and serves as the starting point for customization.
Additionally, you’ll find parameters for brightness, hue, saturation, metallic finish, and the intensity of the normal bump in the sliders. By adjusting these settings, you can fine-tune the base appearance of your carpet to achieve the desired look and feel.

Next, we can adjust the Carpet Transform parameters to modify the tiling of our carpet, ensuring it fits perfectly within the desired scale and layout.
In the Surface Shading Break-Up parameter, we can create the effect of the carpet’s brushed fibers, adding a realistic touch to its appearance. This feature enhances the visual depth and texture, making the carpet look much more lifelike.

3. Customizing Masks and Layers
- Remember, this template supports 9 masks and layers, each with independent settings.
- Begin by deciding if the mask will use a repeating texture or a non-repeating texture.
- Use the switcher to select Non-Repeating if you want a unique pattern.
3.2- Upload the Mask
- Select Mask 1 and click the Upload button to import your desired mask texture.

3.3- Customize the Mask in Layer 1
- Move to Layer 1 to configure the mask properties:
- Cut or Loop Switcher: Choose whether the mask will have a cut or loop tufting style.
- Base Color Tint: Define the base color of the mask. In this example, we’ll select a golden hue.
- Adjust the Normal Bump Intensity to add more depth and volume to the mask’s texture, enhancing its realistic feel and intricate details.
- Metal Thread Intensity: Adjust this parameter if to give the mask a metallic finish, creating a luxurious gold appearance.
4. Saving the new material
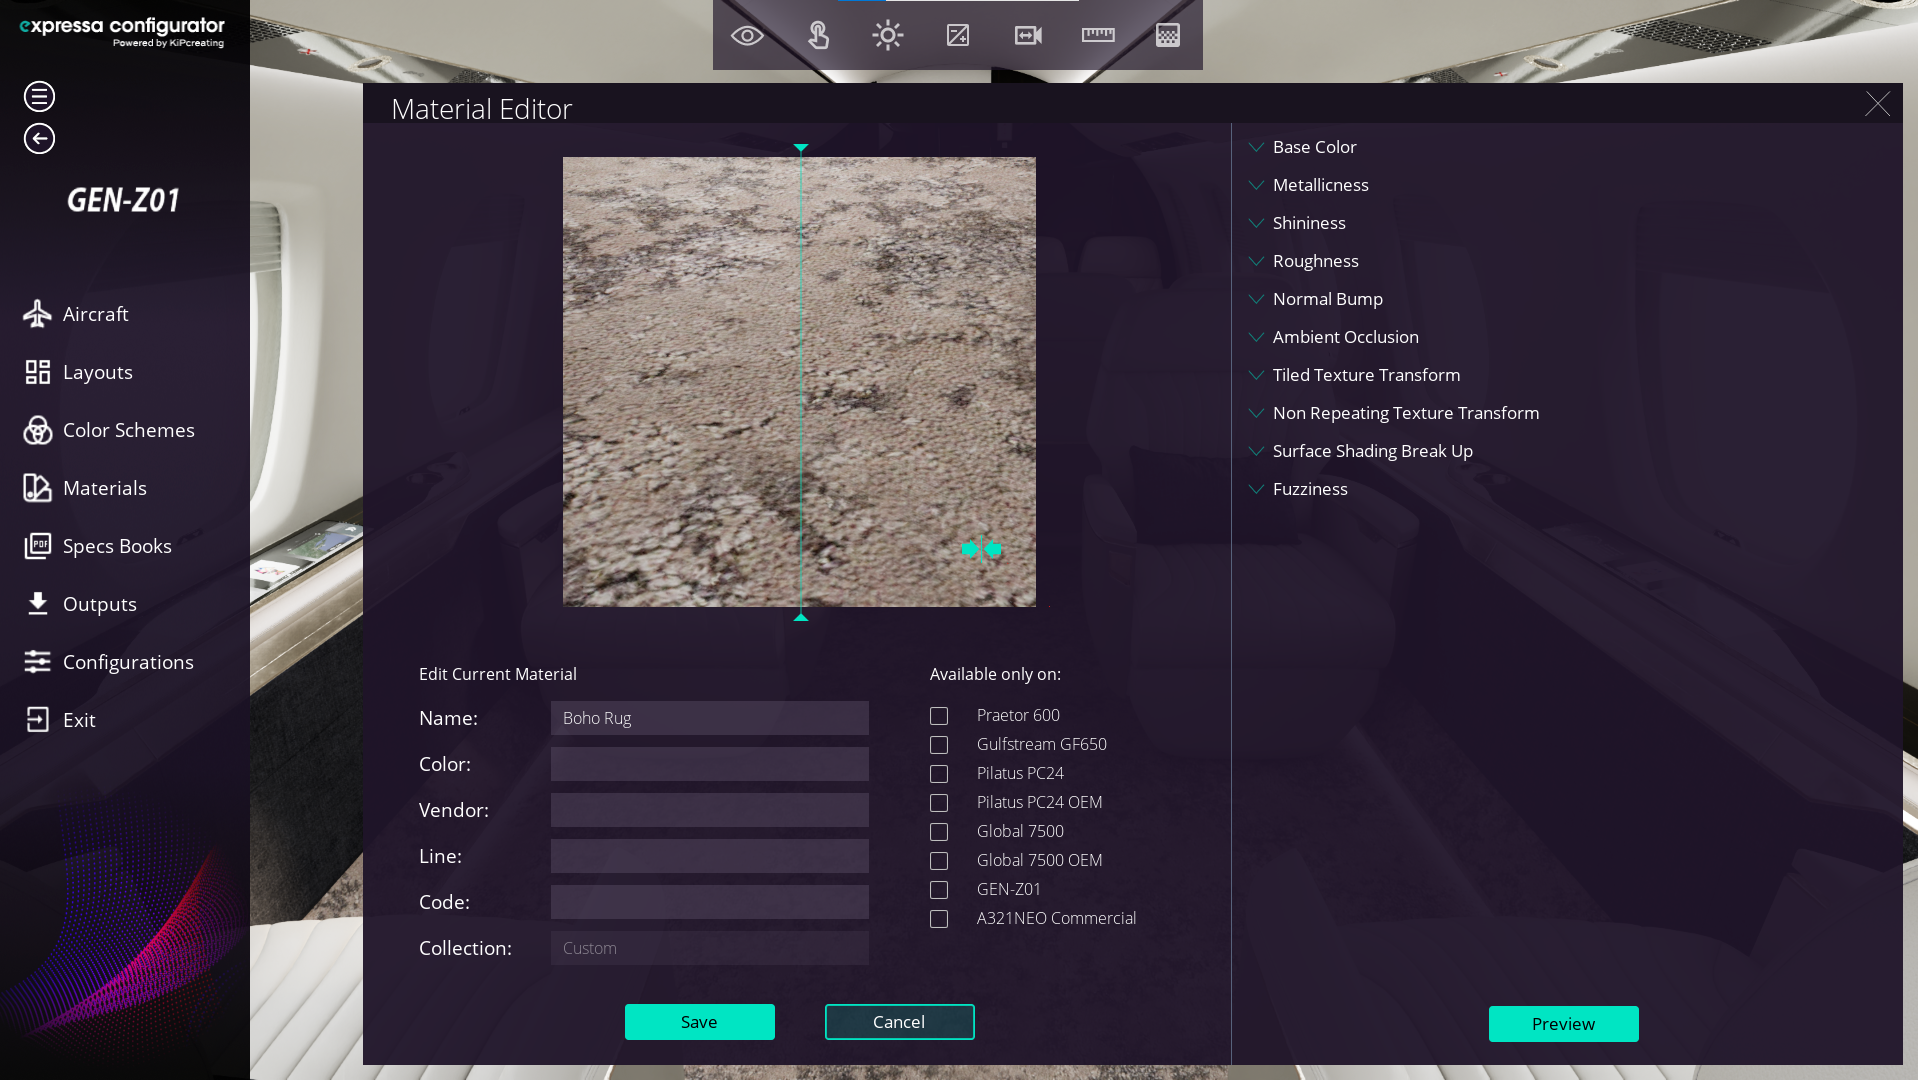
To save the new material, assign a name in the Name field located in the Edit Current Material section at the bottom left. You can also fill in additional fields such as Color, Vendor, Line, Code, and Collection. These fields help you better organize and locate the material later. Finally, click the Create button to save it.

5- Material Check and Live Preview
To view the material, select the geometry by right-clicking on it. Then, with the left mouse button, open the Material Selector window. Apply the selected material, and your new carpet will be applied to the geometry.

6- Customize Your Carpet
By clicking on Edit Current Material, you can further customize your carpet, adding new masks, adjusting colors, changing the tufting type, and refining surface finishes. This feature gives you full control over details such as metallic intensity, surface shading, and normal bump, allowing you to create a unique and highly realistic carpet design tailored to your project’s needs.